Founded in the mystical city of Rishikesh, Yoga Vidya is the ideal place to immerse yourself in the authentic practice of Yoga. With over a decade of experience and more than 8,000 students from around the world, our school stands out for its traditional approach, the guidance of expert teachers from India, and an environment that fosters the exploration of practices such as Asanas, Mudras, Pranayama, Meditation, and the deep study of yogic philosophy.
Since 2014, we have offered training programs for both beginners and advanced practitioners, led by Acharya Prashant Jakhmola.
Our purpose is to bring the ancient wisdom of Yoga providing an accessible and transformative experience
Here you will find both short- and long-term programs, available online and in person.
Our Best Yoga Destinations
ENJOY COMPLETE & BEST QUALITY
COOPERATION
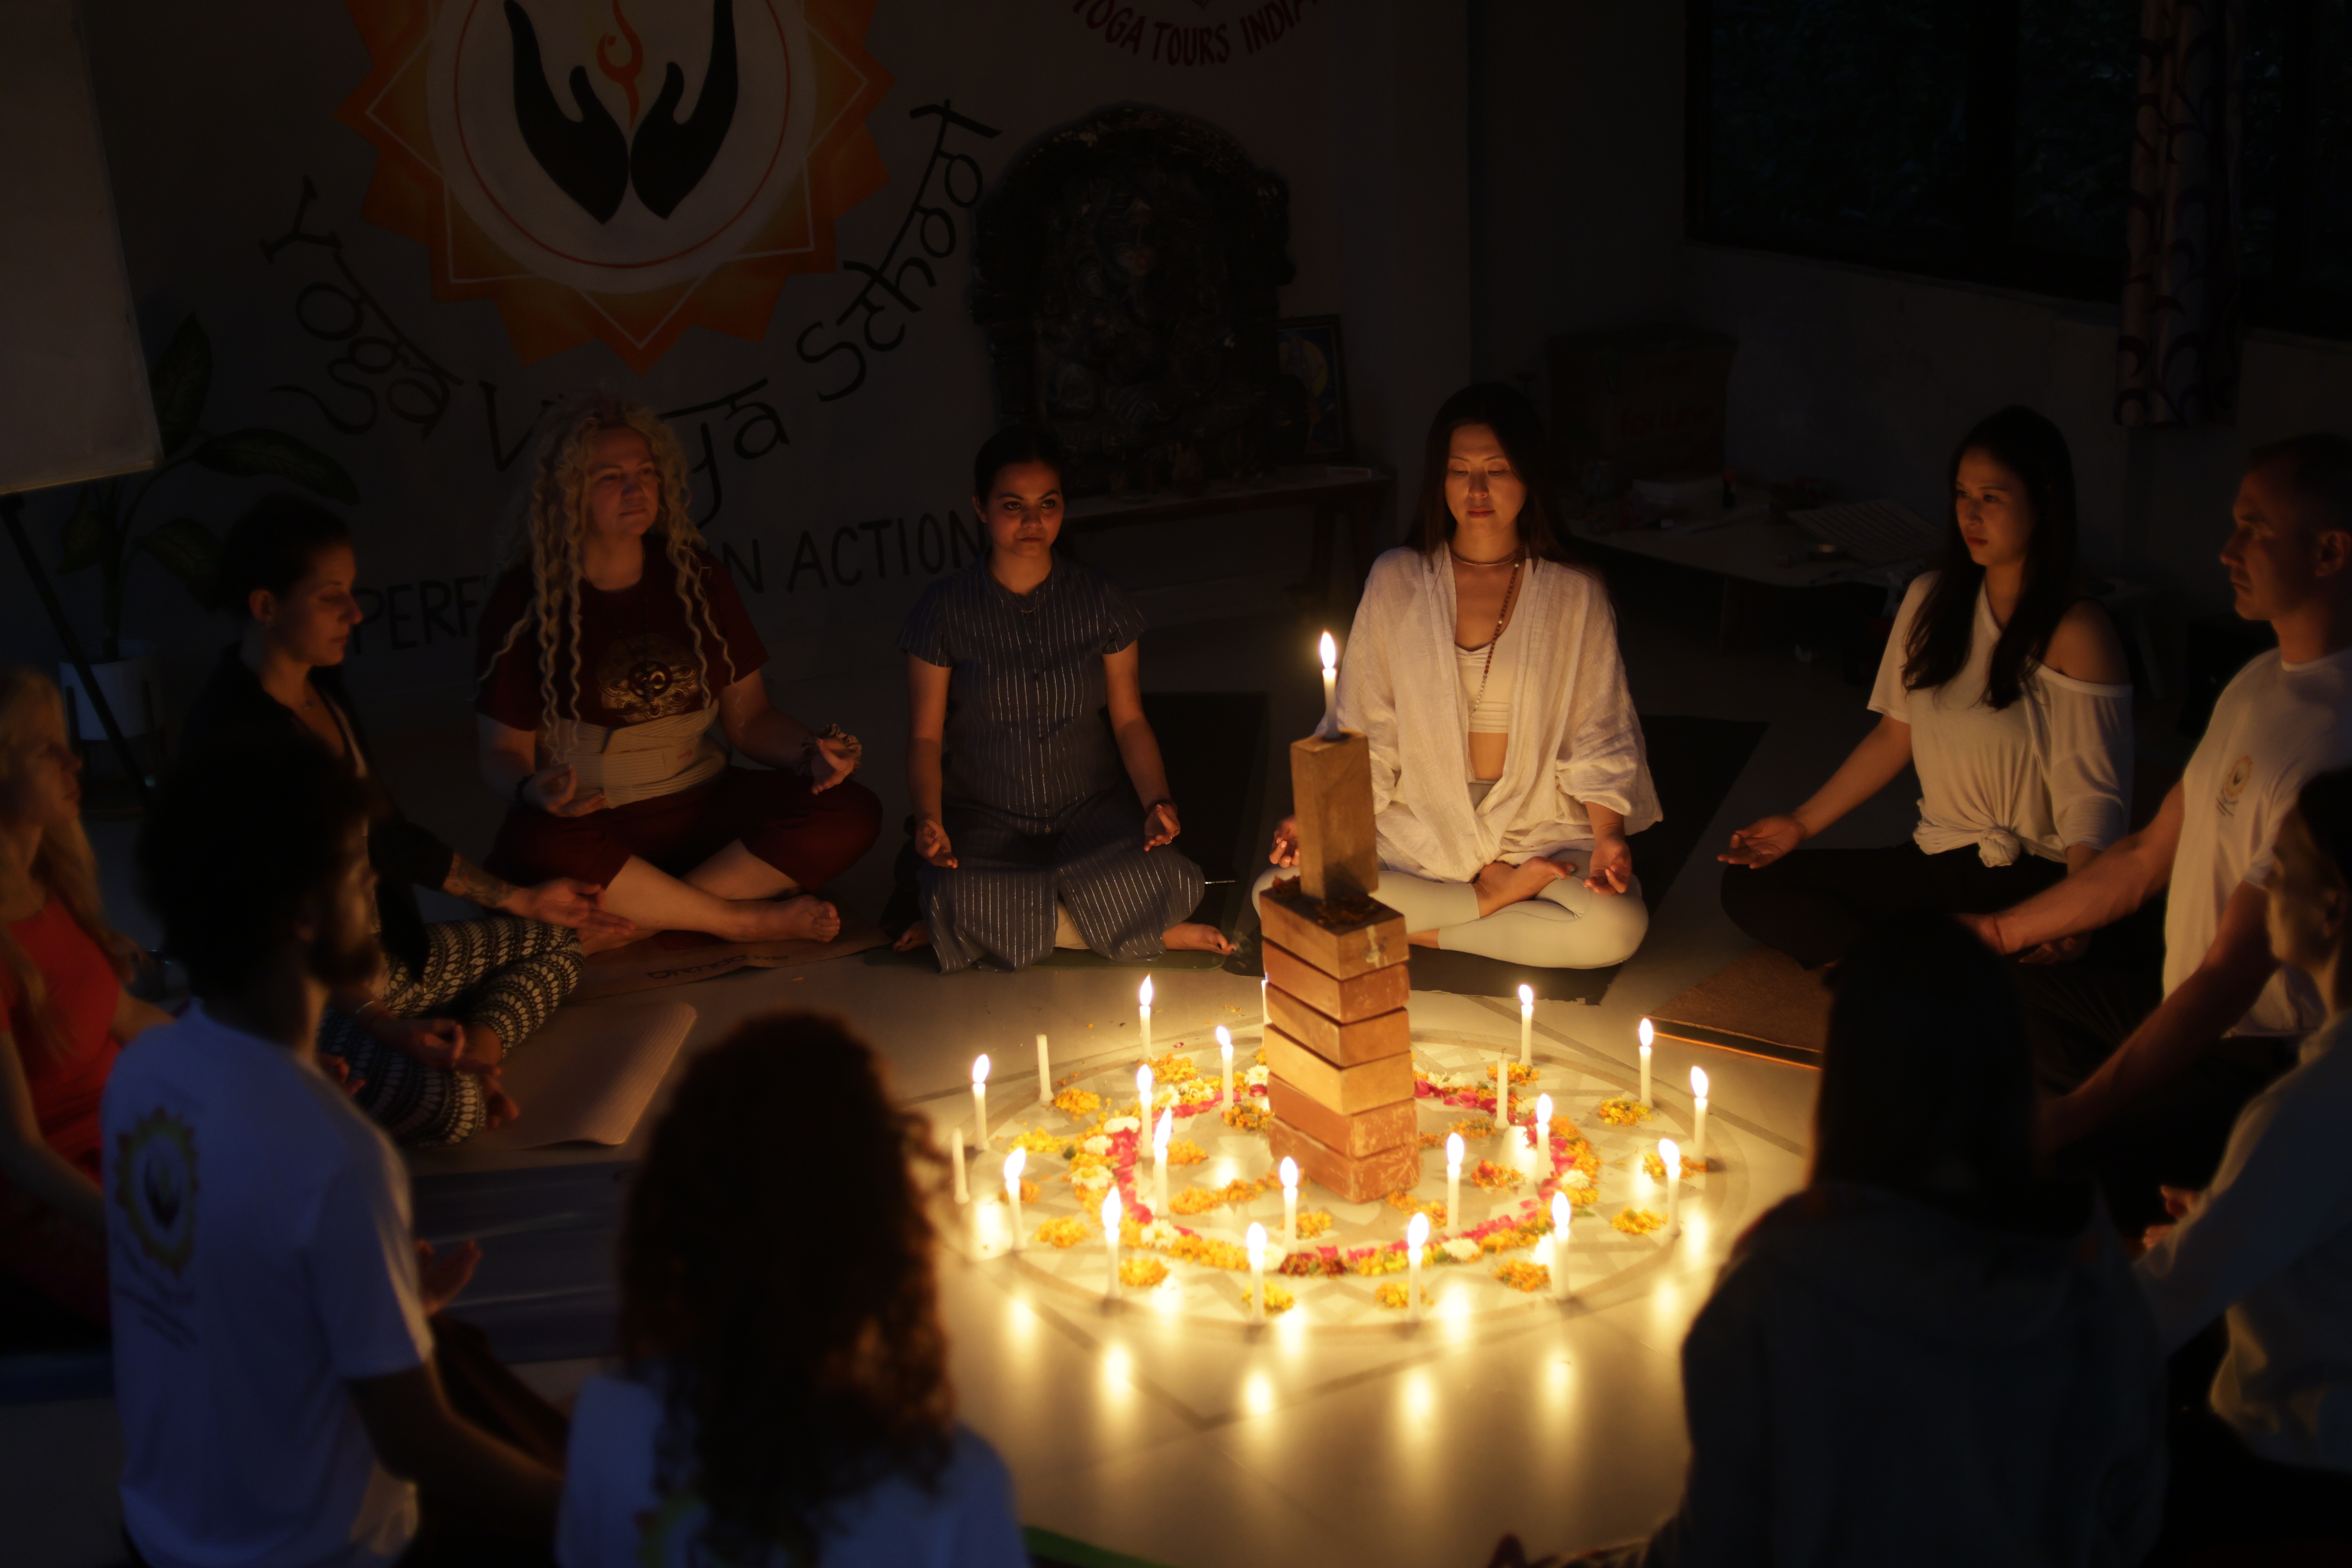
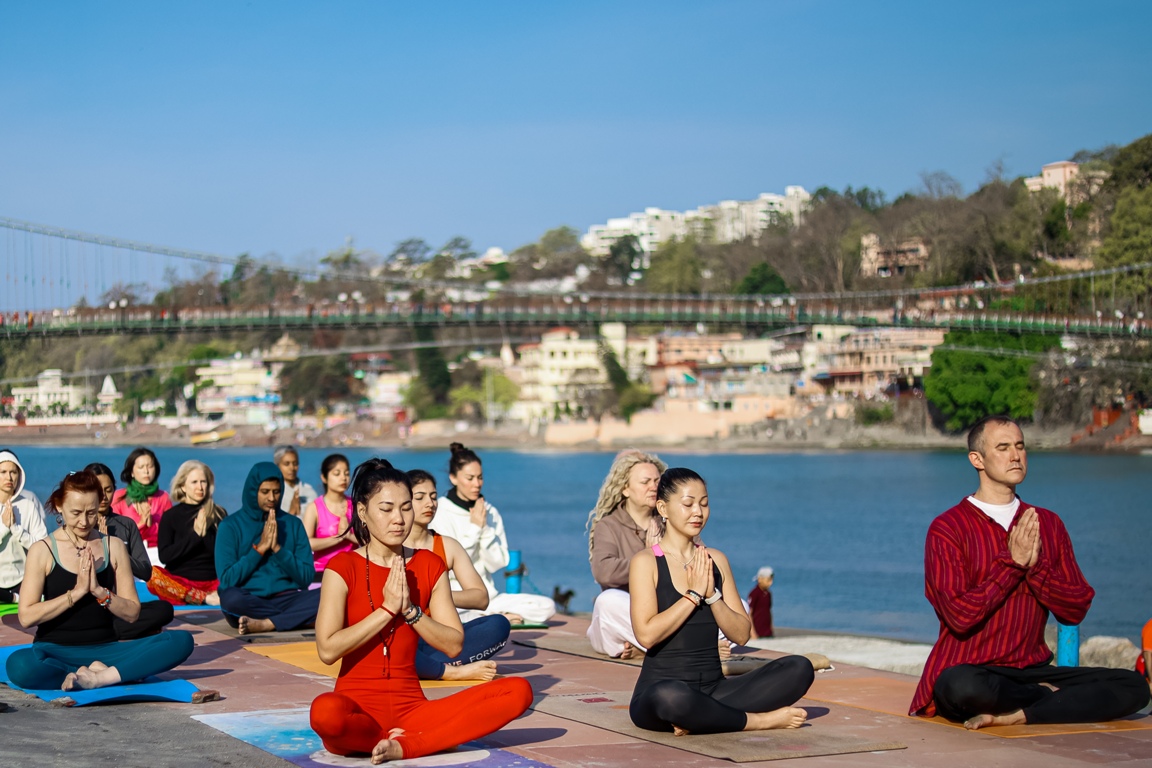
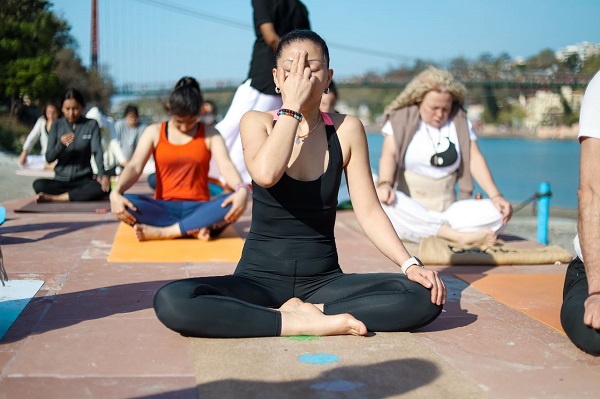
Yoga In Rishikesh
Known as the World Capital of Yoga and Meditation, Rishikesh is the most popular destination when it comes to practice and learn Yoga. This historic and religious town in the foothills of the Himalayas has been home to numerous seekers, yogis, saints and celebrities who wanted to search their inner-self. We offer Yoga Retreats and Yoga Teacher Training in Rishikesh in a beautiful venue surrounded by Himalayan forest and spectacular views.
Explore More >Yoga In Bali
Bali,with its beautiful beaches and exotic temples, has every kind of natural beauty that makes it the best place to practice and learn Yoga. The wonderful mix of ancient culture, art, spirituality, pleasant weather and healthy food will relax your body, mind and spirit deeply, ensuring every moment of your yoga teacher training or yoga retreat a magical experience
Explore More >Why should you become a Teacher at Yoga Vidya?
At Yoga Vidya, we share the knowledge just as it was passed down to us: pure, rooted in the scriptures, with devotion and respect. Studying with Prashant and his team of professionals will allow you to immerse yourself in an authentic tradition.
Living the experience in a spiritual environment will connect you not only with technique, but with the true purpose of yoga: self-knowledge, inner harmony, and service to others. Our trainings are transformative—both personally and professionally.
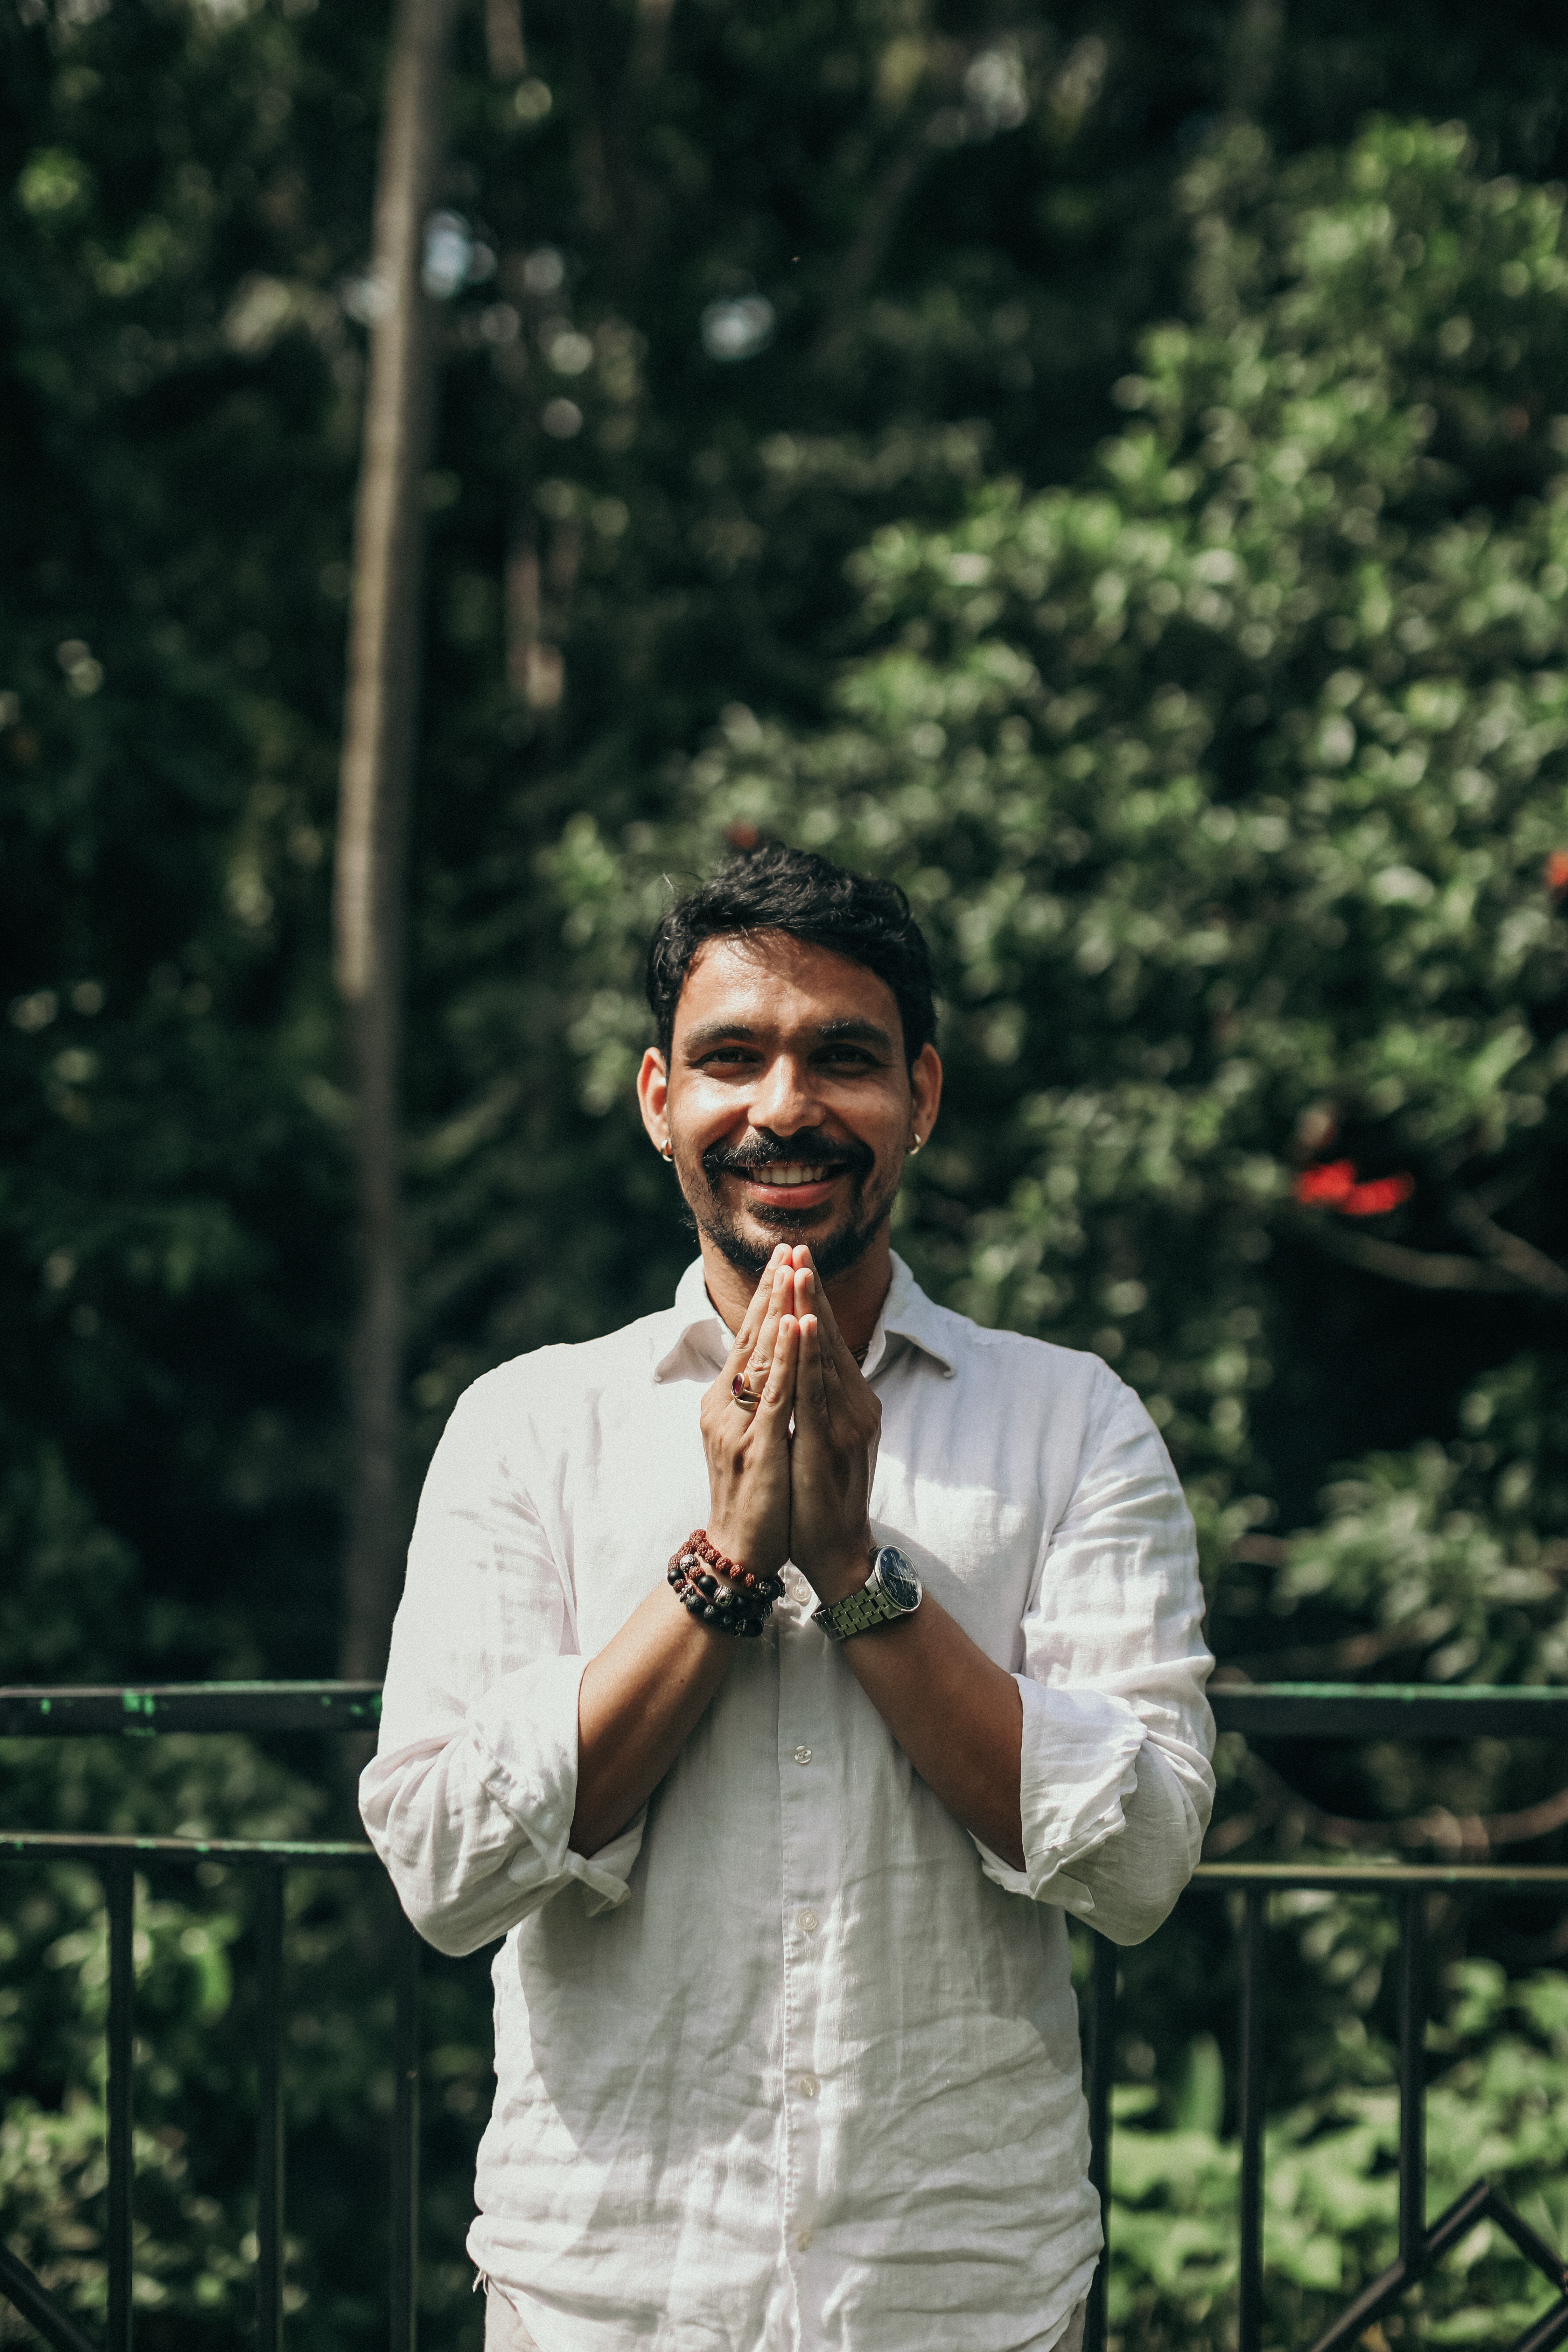
Acharya Prashant J
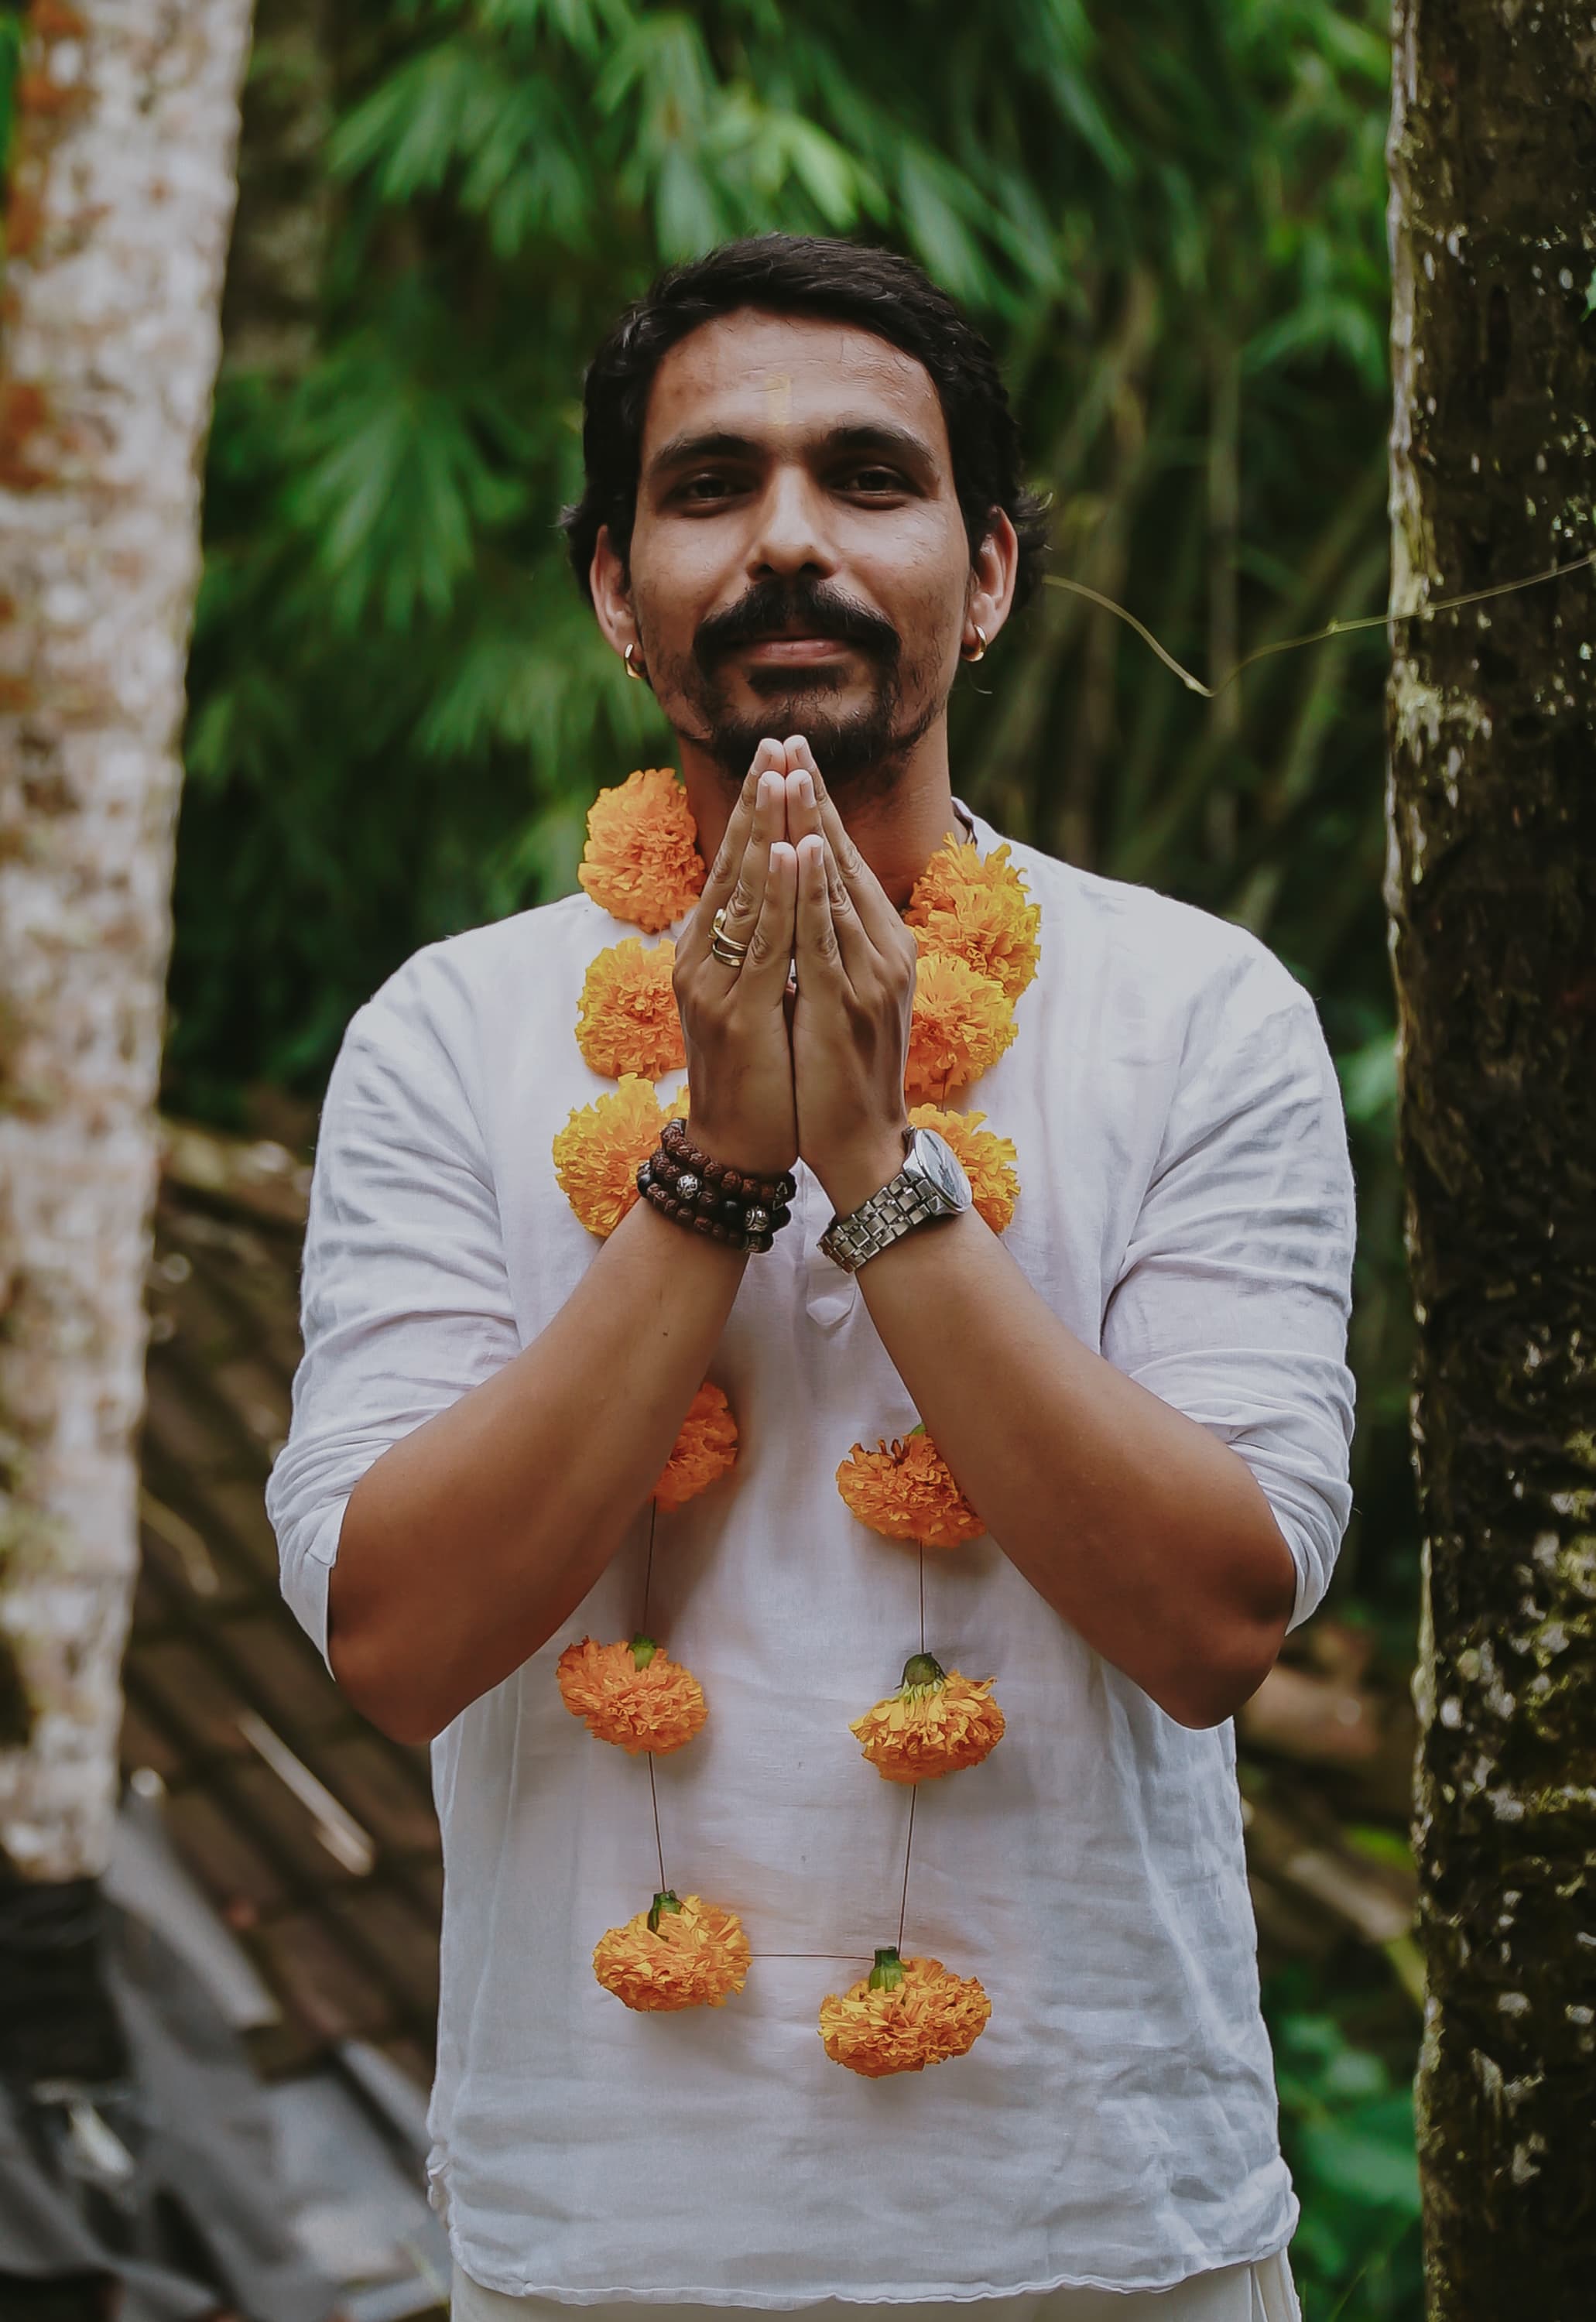
Acharya Prashant Jakhmola began his journey in yoga at the age of 17 at the Sivananda Yoga Ashram, drawn—like many—by a desire for physical well-being. Over time, he trained deeply and became a highly respected teacher in India and the founder of Yoga Vidya School in 2014. He currently leads both in-person and online training programs, sharing his knowledge with depth, humility, and a transformative vision.

Online Courses and Classes
At Yoga Vidya we also offer focused online pre-courses and live classes designed to guide you step by step in improving your life through different aspects of yoga practice.
Guided Virtual Session
Daily Yoga Classes


Pre-recorded Pranayama Courses
Exclusively designed by Prashant J Yoga, Breath Detox, Prana Arambha, Swara Sadhana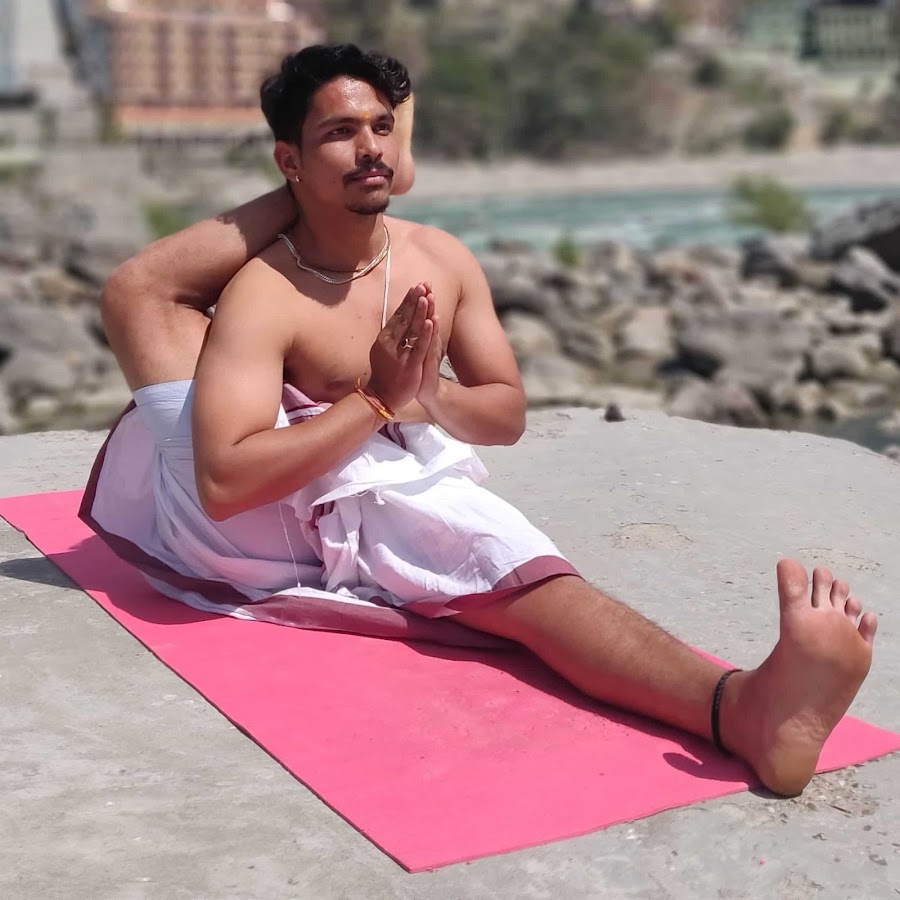
Yoga Alliance Certified Yoga Teacher Training
These transformative yoga courses create necessary yogic platform for the yoga practitioners to explore deeper dimensions of the Yoga World. With rich curriculum, these certified trainings cover 14+ Yoga subjects including Hatha, Ashtanga, Pranayama, Ayurveda, Philosophy. These courses make true yoga practitioners and prepare them to meet the requirements of Registered Yoga Teacher with Yoga Alliance.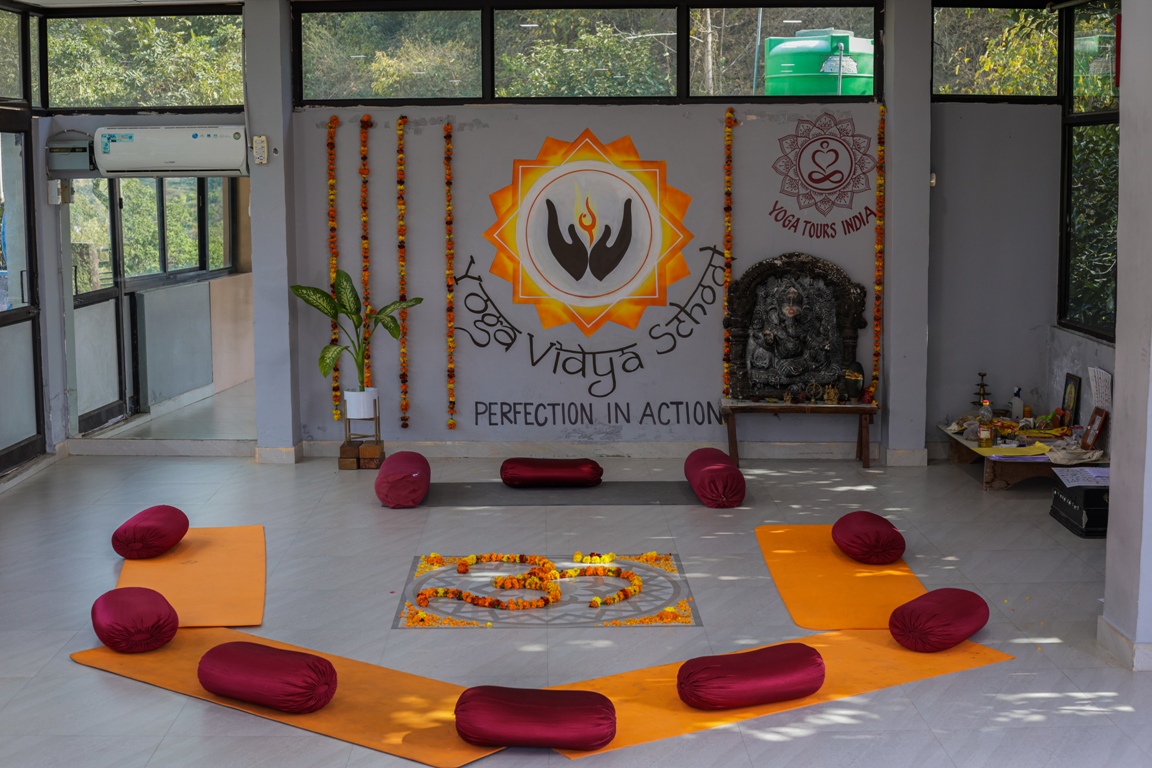
The 100 Hour Yoga TTC is an introductory program, perfect for those who have less time and want to build a correct foundational understanding of yoga practices, with holistic approach.
A comprehensive course for those ready to deepen their practice and start teaching yoga professionally. In addition to a structured regular practice, it covers teaching methodology.
An advanced multi-style yoga program for dedicated yoga practitioners and professionals to refine their practice and skills, expand their knowledge and elevate their teaching to a higher level.
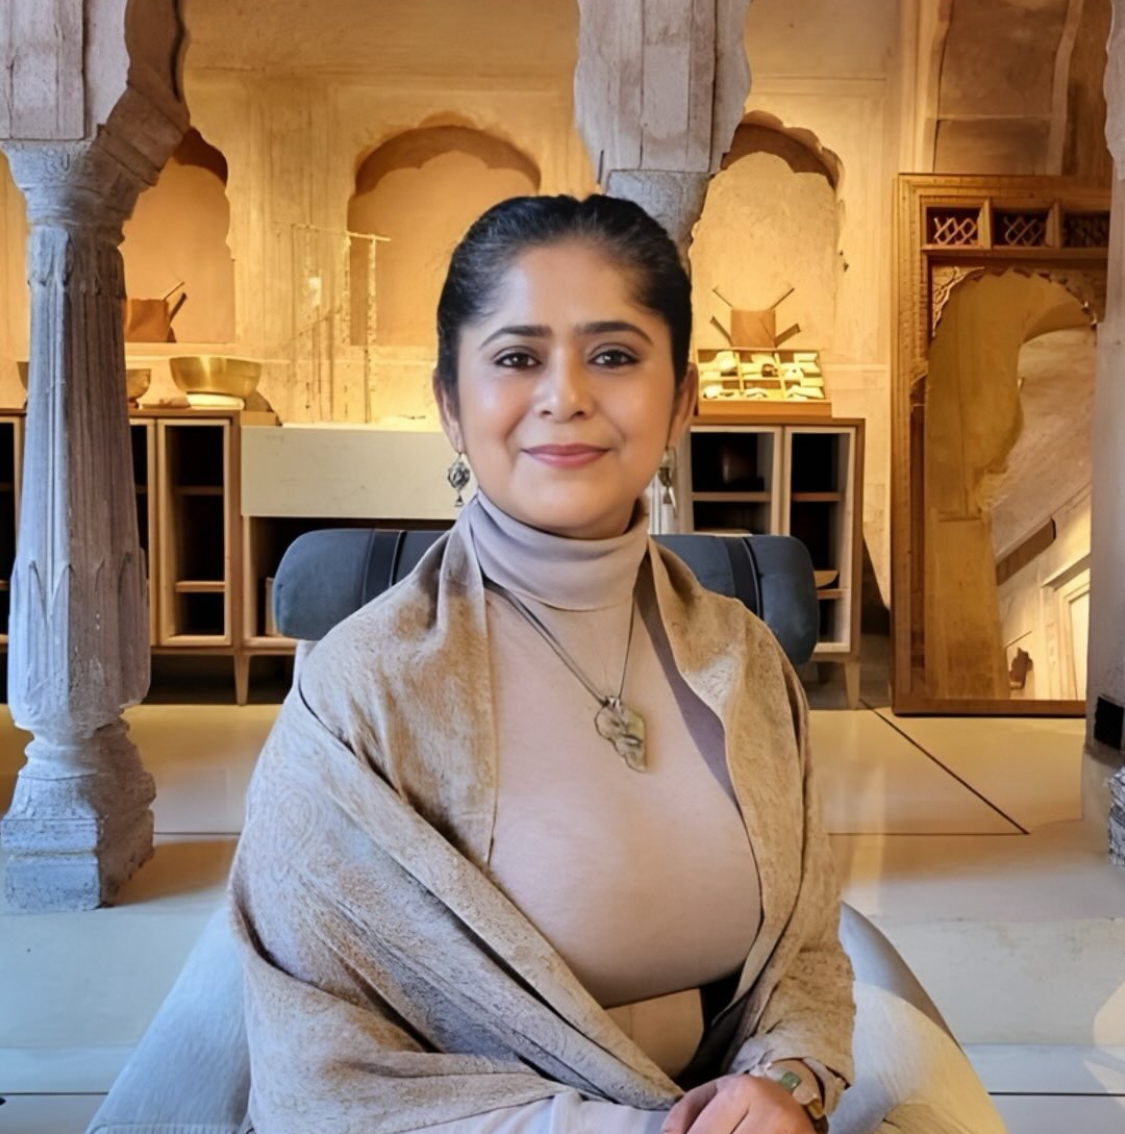
Our Mentors
A team of highly skilled and experienced yoga teachers with diverse yogic backgrounds.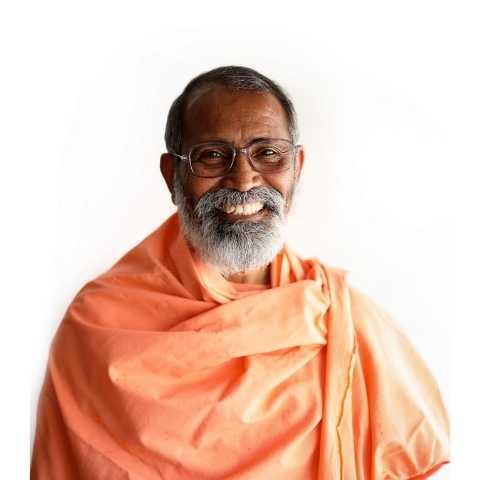
Yoga Philosophy
Meditation / Yoga Nidra
Pranayama, Asanas

Yoga Anatomy
What Students Say About Us?
Read and listen the transformative experiences of our yoga students and participants . Discover how our yoga teacher training, yoga classes and yoga retreats have helped them achieve their spiritual awakening, personal and professional development.Blog
The best health blog and your go-to-go guide for Yoga Asanas, Meditation, Pranayama, Yoga lifestyle, Breath Work, Healthy Diet, Wellness Traveland Yoga Courses and Retreats around the World.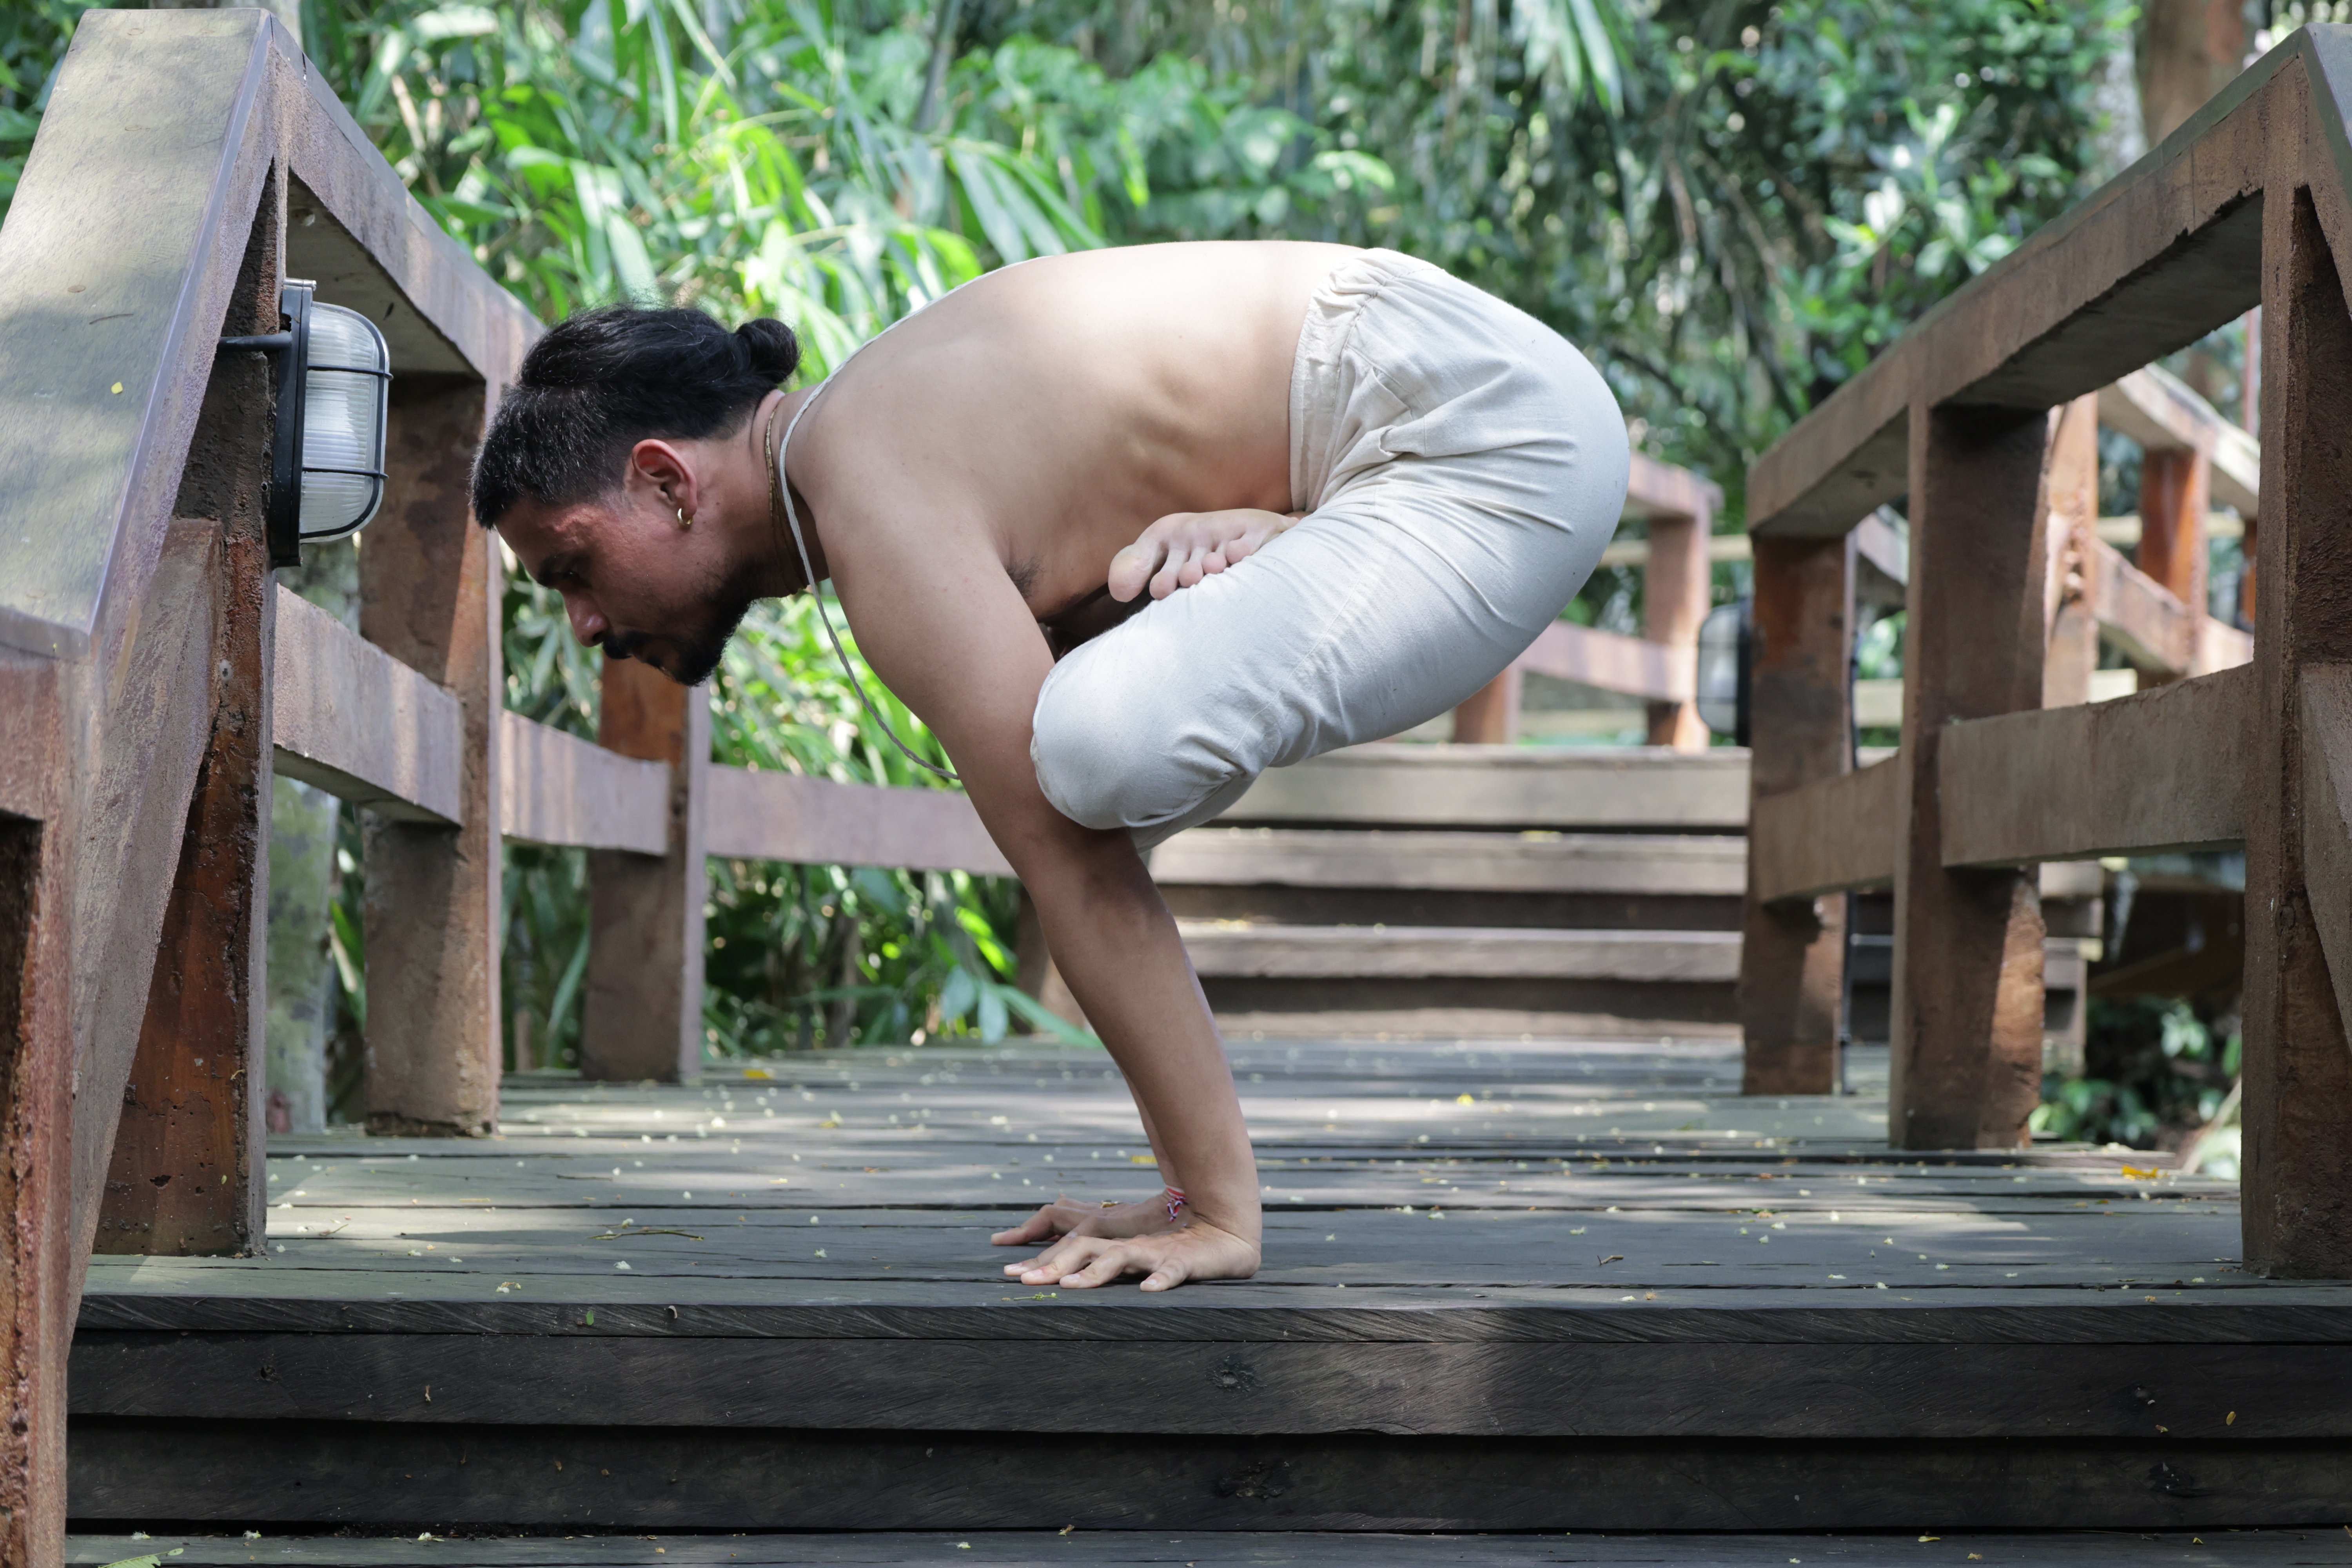
Many practitioners believe Ashtanga Yoga and Ashtanga Vinyasa Yoga are the same. Discover the histor
Read More ->Make Yourself A Healthy Being With
The Benefits Of Yoga.